Summer is just around the corner, so don’t waste any more time if you haven’t got your yard in shape yet. Although a good cleaning will help make your outdoor spaces look good, a fencing makeover can result in a dynamic transformation that is sure to inspire some wonderful outdoor living experiences in the coming months.
Staining a fence is a lot simpler than you might think. If you follow the steps correctly, you can quickly and efficiently learn how to stain a wood fence, and then admire the perks it brings to your land. Not only does the fence look great, but by practicing these stress-free fence staining tips, you are guaranteed to appreciate enjoying time outdoors working with it.
The article gives a comprehensive guide and outlines all the essential points on how to stain a fence.
When to Stain a New Fence
There should be no urgency when it comes to staining of new fences. The type of wood used in your new fence can roughly influence when you can stain it. Wet wood does not allow the stain to penetrate the grain of the wood properly and will protect the wood. A reasonable rule of thumb is to add a few drops of water onto the wood. If the water soaks in the wood, it’s ready to stain.
The best staining time of the year depends on where you live since the natural conditions differ from place to place. The article concentrates on the particular weather conditions you should pay attention to and general seasonal fence staining recommendations.
You should also be aware of the weather forecast for at least 48 hours after the project’s completion.
- If the outside temperature is projected to be between 50 and 80 degrees, you should go ahead with your stain plans.
- When the temperature is below fifty, it can impact the amount of time it takes to remove the stain.
- If the temperatures are too humid, then the stain may dry too quickly, and you will get unwanted lap marks on the fencing boards.
- The humidity level should be reasonably low.
- Avoid staining your fence if there is a rain forecast within 24 hours.
When rain or other precipitation reaches your fresh fence within 48 hours, the liquid soaks in and tries to displace the stain. It either will cause your fence to look splotchy, or the paint will peel off and flake off. The longer your fence stays dry, the more stable your results are!
How To Stain A Fence Yourself
Having a colorful backyard tells a lot about a person; especially the staining of the fence, it has a significant impact on the beauty of a household.
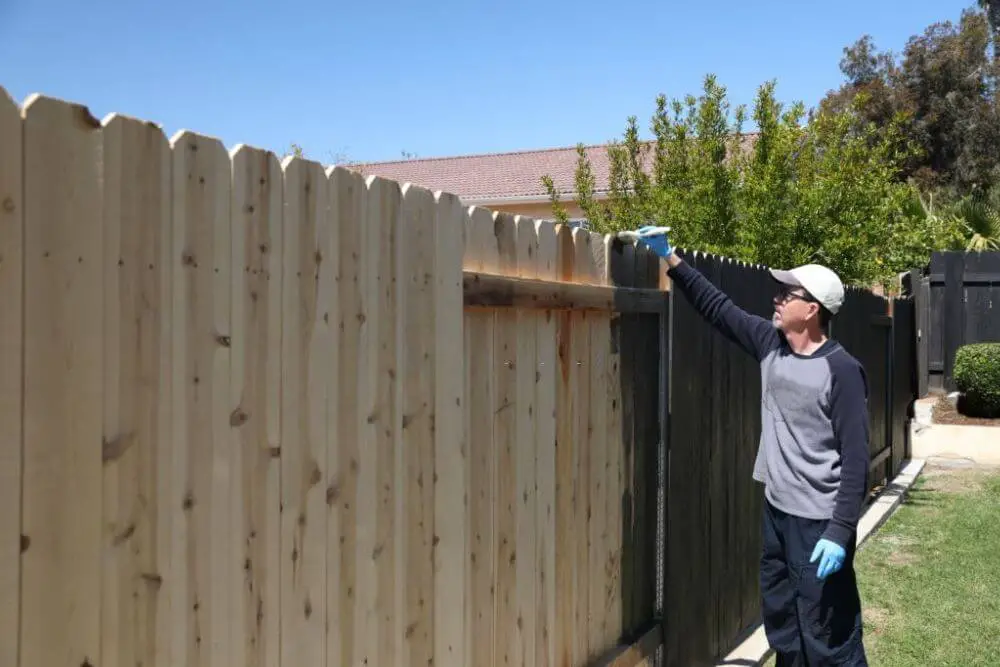
For an aesthetic natural look, you will have to put a lot of effort and hard work into it. It is a lengthy process, but if you follow the guidelines, it will be easier to stain a fence yourself.
The process of staining all types of fence is pretty similar. It has three significant steps:
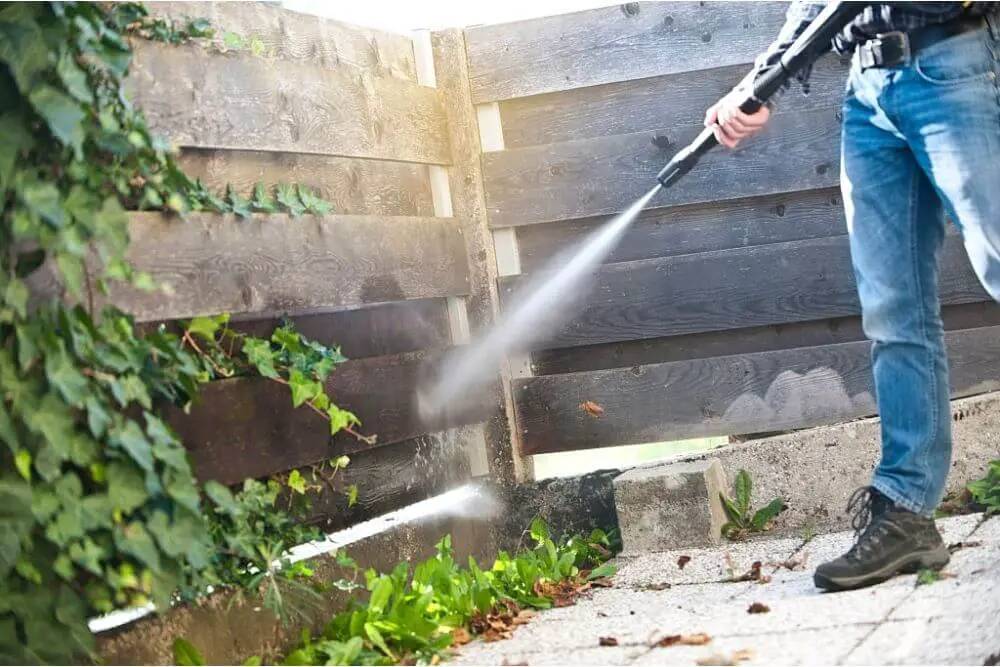
Cleaning the fence:
- Clean your fence using a garden hose or a pressure washer. Ensure that your fence is completely clean before proceeding.
- No matter how old or new your fence is, you must clean it thoroughly. Staining your fence over dirt and mildews that have accumulated over the years is not very smart. It does not let the fence absorb the stain properly, and your hard work goes in vain.
- This process can be done using a bristle brush, a power washer, or even a garden hose. If your fence is very old, use a brush or the hose. Using a pressure washer on an old fence might break it.
- If you are using a power washer, ensure that it has a pressure set at 1500-2000 psi.
- Even though power washing the fence is the quickest method, ensure that you are washing with the grain’s direction on the wood. Otherwise, it would leave marks behind.
- Make sure that your fence is completely dried up before proceeding to stain it.
Preparing your tools for staining:
There are quite a few methods on how you want to stain your fence. You can use a sprayer, pump-up sprayer, roller, paintbrush, and many more.
These methods are covered in sections below. However, the general idea is selecting a tool based on your need and prepare it according to the guidelines.
Staining:
- By using your selected tool, stain your fence from top to bottom.
- Use a small brush to reach the curves of the fence; make sure you do it in the direction of the grain of the wood.
- Before applying the second coat, make sure that the fence is dried thoroughly.
- Work from one section of the board to another, this step is very time consuming, but the result is worth it.
The guidelines, as mentioned above, are the basics of every staining method.
How To Stain A Fence With A Sprayer
Staining your fence with a sprayer is one of the most efficient and quickest methods. Although the basic staining techniques are the same, there are a few key points that you must keep in mind.
Preparing your fence:
- The first step is to clean your fence thoroughly with a power washer or a garden hose and let your fence dry completely.
- Then, cover all the exposed vegetation and plants with a plastic wrap. The stain might have harmful chemicals that may even ruin your beautiful shrub garden.
Now, your fence is ready to be sprayed with a fresh stain.
Spraying your fence:
- Spray your fence boards from top to bottom with the grain of the wood.
- Keep at least 12 inches distance between the sprayer and the fence.
- If you are a beginner, you can overdo a spot on the board, simply use a brush and even out the stain while the paint is still wet.
- If you think your fence may need two or more coats, you must let the first coat dry completely.
Lastly, clean up all the extra drips and uncover all the plastic wraps, and there you have it, a beautiful, freshly stained fence.
Safety:
When it comes to using a sprayer, make sure that you take proper safety precautions. Stains in the form of spray might contain hazardous chemicals. So, you must wear a proper respirator and gloves to protect your skin.
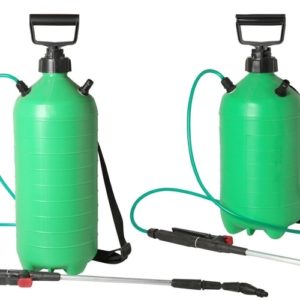
How To Stain A Fence Using A Pump Sprayer
The primary methods of spraying a fence with a pump sprayer are also similar, but before proceeding to the project, you must understand that not all stain can be applied with a pump sprayer.
There are various staining materials for different tools. For instance, a stain that is recommended to be used with a brush will not work as efficiently with a sprayer.
There are various staining materials such as solid stain, semi-solid stains, semi-transparent stains, wood preservatives, and many more. The trick is to select the ones that can be sprayed if you are looking for a long-lasting and durable stain.
Staining with a pump sprayer is quite comforting and is a quick project, especially if you are doing it yourself.
As mentioned earlier, cleaning and preparing your fence is the same for all methods.
However, the difference is in the application of the stain.
- Remove the lid from the pump sprayer and pour the stain into the canister.
- Secure the lid and press the handle of the pump sprayer.
- Always stain your fence from top to bottom with the grain of the fence board. Keep a distance of a minimum of 10 inches.
- You may (and most likely will) miss a few spots. The trick is to use a bristle paintbrush to remove the excess stain and reach the curved areas.
- Spraying lets the stain dry faster, so make sure that you are spraying small sections.
- Alternate between spraying and brushing for an even tone.
- Let the stain dry completely before applying the second coat.
Using a pump sprayer is an excellent method. Many of its benefits include:
- When they mature, they don’t start flaking or peeling. Simply, they appear to be lighter and fade as time passes.
- Most wood preservatives are designed to be used in one coat only.
- From dark to transparent, they come in different shades.
- Use a pump sprayer as they are convenient and easy to apply.
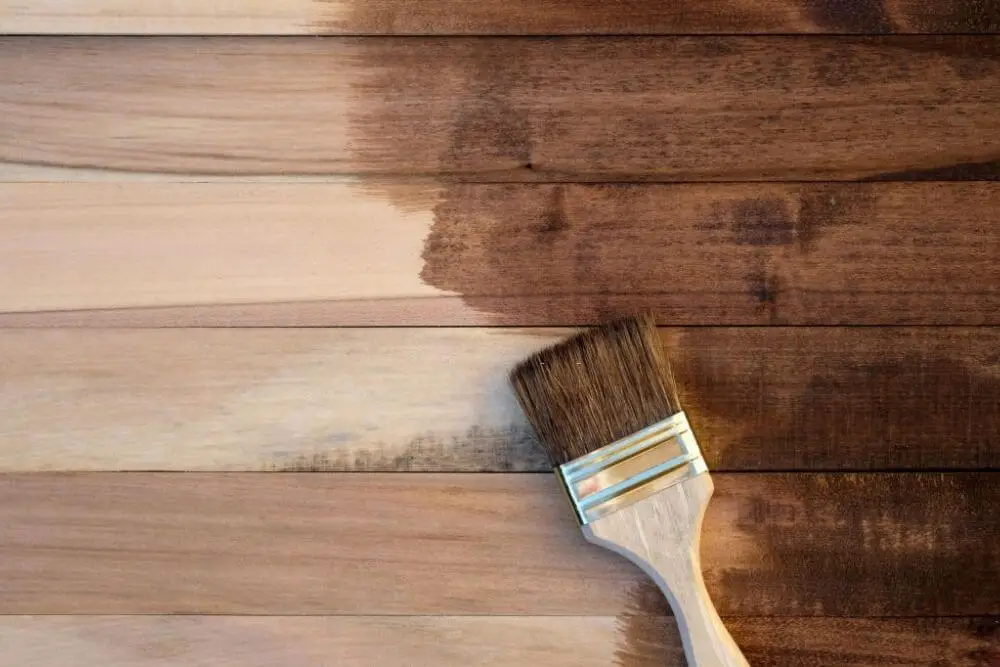
How To Stain A Wood Fence
To stain a wood fence, you can opt for several methods, such as spraying, as mentioned above. You can also use a paint roller or a brush for this process.
Tools you will need:
- 4-5-inch broad staining brush
- Paint roller/ paintbrush
- Power washer
- Safety goggles and gloves
Method:
- Before staining any type of fence, the first step is power washing as it removes all the unwanted dirt and residue from the wooden fence.
- Paint the fence from top to bottom; this prevents uneven dripping.
- As the coating and thickness vary in different stains, it is advised to follow the guideline provided with the wood stain you purchased and let it dry.
Usually, solid color stains require just one coat to protect your fence. However, semi-transparent stains require two layers. The second coat must be applied 1 hour after the initial dye.
How To Stain An Old Fence
Whether you use a brush, sprayer, or paint roller, when it comes to staining an old fence to make it new, there are a few key points you need to keep in mind.
Wood fences that have become old tend to have the presence of dirt, moss, mildew, and other residues on them. This buildup can influence the ability of the fence to absorb the stain. It is recommended to disinfect the wooden fence a few days in advance.
Method:
- Wear safety gear and mix one part bleach with three parts of water to create a solution. Use this mixture to rub on your fence.
- Then clean out the fence with a pressure washer or a garden hose to clear all the remains.
- After it has been thoroughly washed, place a plastic sheet under the fence to shield the underlying ground, grass or vegetation from stain-drops.
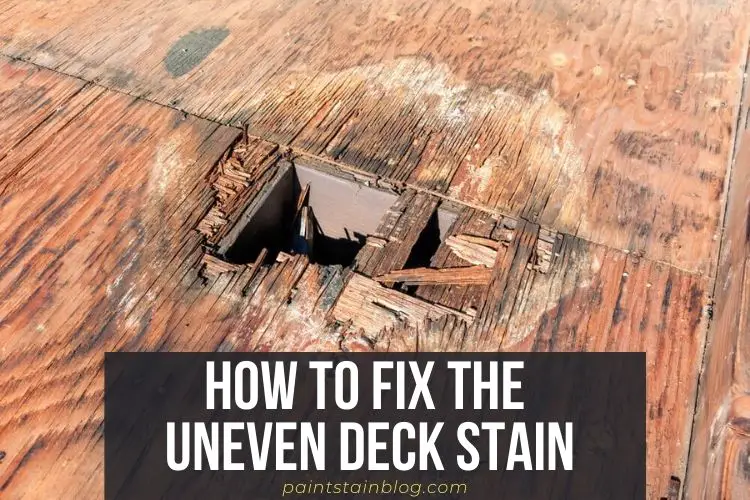
- To repair or remove broken boards, reassemble boards that are loose and remove any protruding screws.
- Use glue (waterproof) to patch any bent or damaged boards.
- Drive screws that are resistant to corrosion as a replacement of nails. With this, you can firmly tie loose parts together.
- If the gate is tilting, flatten it with the help of a turnbuckle.
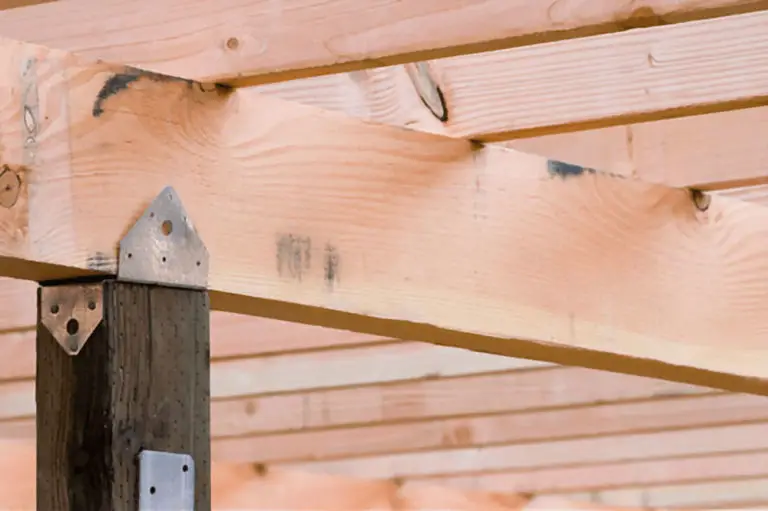
- The base of the fence post is one of the vulnerable areas, as it rots quickly. Cover this area with wood preservatives.
- Use an external semi-transparent oil paint to preserve the wood’s natural color. It seals the wood while enabling the contrasts in grain and color to show through. And the pigments give a strong sense of color.
- Make sure that the stain contains ultraviolet inhibitors as it slows down the bleaching caused by sunlight, and a mildewcide to prevent the emergence of the fungus and mold.
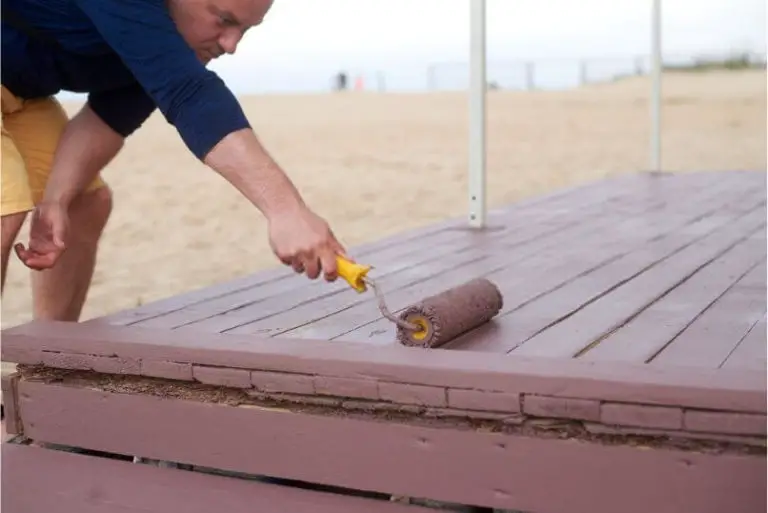
- Use a paint roller to soak the wood stain and let the fence absorb it.
- Use a brush to even out all the drips, if any. Then brush into the grain to cover all the corners and gaps.
- If the fence still appears dry, roll an additional sealer on the fence using a brush.
Most of the semi-transparent oil stains are assumed to last between two and five years (solid-colored stains last longer but are more complex to renew). Fences typically experience extreme weathering, so expect the coating to last no more than three years.
Within this period, you must intend to restore the fence to give it a garden-fresh look. Clean the fence with a pressure washer or a garden hose sprayer before recuperating, and use a stiff brush on persistent dirt and stains. Leave the fence to dry, and use the same approach to stain.
Using these methods, you can make your fence look new and garden-fresh.
How Long Does It Take To Stain A Fence
Staining your fence can get tiring and time-consuming. The key to finishing the job quicker depends on the kind of tool you are using to put the stain.
In general, spraying takes less time than brushes. Opting for pump spray would be a wise decision. However, another factor joins in when one considers coverage, and that is the staining-type.
Depending on the type of staining you chose, the time consumed might differ. Some stain requires two coats to get the desired color. To do so, you must wait for the first coat to dry completely before going for the second coat. It might take an approximate of four hours for the first layer, depending on your fence length and width.
After the first layer is done, the second layer can be applied after 24 hours.
Although fence staining is very time consuming and hectic, the result is what matters, and it is beautiful.
How To Stain A Cedar Fence
Cedar fence stain is a kind of paint substance that can be added to wood fence materials. It can be done before or after installation to enhance the natural tone of the wood or to alter its appearance to an entirely different color, enabling the wood grain to show through.
A durable surface stain, like paint, helps to prevent wood fencing from long-term damage caused by humidity and sunlight.
Before you begin, there are a few critical factors that you should be aware of.
- Choose a premium quality, outdoor paint. When you’re out there choosing, consider what amount of natural wood-showing are you comfortable with, and picture the end result of the fence once the project is complete.
- A high-quality stain can improve the wood’s texture, protect the fence against moisture and cracking, and preserve its color for a longer time.
- There are various cedarwood stains out there, such as semi-transparent, solid, or translucent finishes. Choose an oil or acrylic/oil mix appropriate for outdoor applications. Before you head out to paint, carry out a little experiment by letting it dry, just to be sure that it is the finish and color you like.
There are various numbers of cedar treatments depending on the type of staining of the cedar fence.
Bleaching oil:
If you are looking for a smoked, worn-out shade that is also durable, it’ll require a ton of effort to make it look natural.
Nevertheless, bleaching oil represents two stages.
- Firstly, the oil tints the wood to correct the color with a bright grey pigment.
- Additionally, the oil will speed up the bleaching procedure instantly so that you get the worn-out and weathered impression quicker and more evenly applied.
- Patience is key. The fully standardized weathered effect will take roughly three to five months to appear.
Solid- color stain:
Solid stains contain small molecules but not quite as many as paint.
- Strong color stains, therefore, reveal some of the cedar grain, though, but none of the color.
- What you get is a non-transparent color, which is very uniform.
- The drawback is that the solid color stains absorb the most harmful ultraviolet light.
- However, this form of stain is excellent for water repellence.
Semi-transparent stain:
Semi-transparent stains are an excellent alternative if you want the real worn outlook.
- The solid particles of the mix do not diminish the wood grain of cedar significantly.
- Although, you’ll need to be vigilant when applying with the semi-transparent stains.
- Brushing manually is always the best choice because spraying may cause blotching.
- The stain often beads water so that moisture does not enter the cellular structure of the wood.
Primer and paint:
Paint is your best cedar treatment option if your sole purpose is protection.
- The solids of paint deflect off light since light is a significant contributor to cedar deterioration.
- Lighter shades last longer as they more accurately reflect light than darker colors.
- It is tough to imitate the color of wood with paint.
- If you want the appearance of some sort of wood, paint is not a reasonable alternative.
- It is vital to prime the wood before painting it because of the large pores of cedar.
Safety tips and guidelines:
- Red cedar dust may cause breathing problems for people who have asthma. So, you need to wear a cartridge respirator while staining the fence.
- Since there are volatile compounds in the cedar dust, wearing a regular mask is not that effective.
If you have installed a new cedar fence, a general guideline is to wait for roughly two months, given the fence has been manufactured with dry substances. However, if it is made with pressure-treated materials, you can wait three to four months before staining.
If you have waited too long, then the first step would be sanding and power washing before starting to stain.
Should I Stain My Fence?
Whether to stain the fences or not is solely a matter of preference. It’s done purposely to preserve a newly-bought appearance during most of the fence’s life, or to prolong its durability. In the end, most woods can fade to a silver-gray color.
Two primary options can confuse you, paint, or stain? The following table breaks down a comparison table of the two.
| Paint | Stain |
| Has a variety of color and can transform the entire look | The color is not as opaque as paint, the grain of the fence will be visible |
| Wears off over time and can peel and crack; requires sanding | Fades over time; does not require sanding |
| Cannot soak into the wood; restricts the wood to breathe | Soaks in the wood; allows the wood to breath |
| More expensive | Less expensive |
| Require a lot of extra preparation | Does not require additional preparation |
| Dries very quickly; within hours | Dries slowly |
| Requires primer | Does not need a primer |
| Requires frequent re-application | Does not require frequent re-application |
Although paint is more comfortable to apply and can give a completely different look within a short period, stain, however, brings out the natural grace of the wood.
How Much Does It Cost To Stain A Fence
There are a few factors that play a significant role when it comes to expenses. It depends on the fence’s condition, such as the size of the fence wall, length, height, and geographical region.
The taller the fence, the higher would be its staining cost, as staining a tall fence is very time-consuming, and require more solution.
Many homeowners spend $5 – $10 per linear foot for painting a 6′ privacy fence, and $2 – $5 per foot for painting a 4′ picket fence. The overall project usually costs between $750 and $4,000. Because of the few main factors mentioned above, there is a considerable variation in its price.
Cost factors:
Height and size: The height and size are the most significant determining factor in the expense of repainting or staining your fence.
- An 8′ privacy fence can take up an increased amount of paint than a 4′ picket fence.
- Any fence would need at least two coats of paint, the base coat, the primer to preserve the wood’s consistency, and the second solid coat.
Color Options: when it comes to painting or staining, color choice is a big issue. Ideally, the paint or stain you pick will improve a house’s natural appearance.
- If your house is a chic cottage-style home with a picket fence, then a clean white paint will be an ideal option, whereas a dark stain would be better for a rustic-style home.
- Other items to consider when selecting a color are the general look of the neighborhood houses and certain community restrictions or fencing policies.
- The color you choose will determine how many paint or stain coats are required for even coverage.
Stain vs. Paint: The preference for stain or paint can also affect the cost.
- Stain costs a little more than painting because you would need more.
- Stain can usually last longer and, in the short term, require less maintenance.
| Painting | Staining |
| Est. $36 gallon | Est. $24 gallon |
| Less gallon can cover large areas | Requires more gallons for more coverage |
| With time, the paint peels off from the fence; have to repaint in 3-4 years | Color can fade over time; does not require frequent re-application |
| Extra preparation increases the cost | No extra preparation |
| Carries lower initial cost | Carries higher initial cost |
To conclude, painting is more expensive than staining. Although different brands have different price ranges for different types of fence. The cost would vary on the staining you choose.
Spray and paint rollers: Another major factor in fence painting costs in determining to use paint rollers or a spray tool.
- Using paint rollers can turn the project into physical labor and might become time-consuming, but it can be cheaper.
- Even though spraying is quicker and gets the work done rapidly, it may turn out needing additional paint (up to three times as much!). It can also add up to using more color.
Labor cost: A specialist will charge you either per linear foot or per square foot of the area of the fence. A homeowner or hobbyist charges an average of $8 per linear foot or $1.50 per square foot.
Each fence staining agency has different ways to measure its labor costs. Most contractors are going to do it by total square feet, and others are going to estimate costs per hour.
The design, condition, and size of your fence will increase the labor cost.
When it comes to cost, the price of brush, spray, roller, and other safety supplies may also add up. All these items will relate to how expensive or cheap the cost will be to polish your fence, but you must also consider if it is more affordable and eventually employ a specialist to do the work for you.
How Much To Stain A Fence
The height of your fence is the most prominent element when deciding how much to stain a fence. In general, one gallon of paint covers 200 square feet, and one gallon of stain covers 160 square feet. To cover a 6-foot fence, follow the table below for an estimated measurement.
| Per Gallon of | Linear feet | Square feet |
| Stain | 27 | 160 |
| Paint | 33 | 200 |
The pricing information on this article is based on average production prices and is subject to variation for different project supplies, labor costs, and other conditions.
How to Stain and Seal A Fence
One of the main things you should do is seal your wood fence. Hence, it ensures that the fence is waterproof and eliminates difficulties with rain, which can contribute to rotting and decay of the fence.
The point to seal and stain your fence is not only to improve the fence’s color but also to preserve and strengthen it.
The stains defend against damaging UV rays, the harsh temperature, and the heavy rains that may soak deep into a vulnerable wooden fence.
Although you should always fulfill the guidelines of the manufacturer’s, the universal rule is to stain wood fences every five years and to apply sealers every two or three. Of course, it makes sense to seal after staining whether you are staining and sealing.
For staining, you can follow the methods as mentioned earlier using your desired tool. However, when it comes to sealing, there are a few key points to remember.
- To avoid marks created by running, always work from top to bottom.
- Start sealing with 2 to 3 fence boards at a time. Use an external paint pad with a long handle, to uniformly distribute the finish over the board.
- Use a smaller brush for narrow spaces which cannot be reached by the paint pad.
- Let the sealant dry completely.
To seal a fence with a sprayer, simply pour the sealant in a spray tank and continue to seal over the fence.
How To Stain A Red-Wood Fence
How can you preserve the beauty of a new redwood fence while still shielding your investment against harmful ultraviolet (UV) rays and liquid exposure? A quality oil-based stain that penetrates is a perfect way to cover your redwood fence to keep it graceful.
Method:
- Use a good quality wood cleaner to remove grime and dust from the fence.
- Use a wood brightener if the fence has darkened after the application of a cleaner.
- It is recommended to let the fence dry for 24 hours before starting to stain.
- Apply the wood stain with your desired tool.
- Use a brush to reach the narrow areas of the fence and remove the excess stain.
Do not be surprised if the wood turns dark after being washed! It is common and can be handled. New redwood appears to have high tannin content.
Tannin is a naturally occurring compound in the redwood tree, and they help protect the living tree by bleeding to the surface in the case of fire or other injuries.
You need to keep in mind a few primary points, especially if you have a redwood fence at home.
- Redwood is very expensive and filled with natural tannins/oils that make it exceptionally durable/resistant to insects.
- Never use a “sprayer” to cover a fence — it does a poor job, and even the best spray guns can waste a lot of product on a fence.
- For the redwood fence, staining is the best and only option. Painting is not recommended.
- Use a semi-solid oil stain if you prefer longevity over the looks of your fence.
- If you are using a solid oil stain, apply only one coat.
For the redwood fence, the stain must penetrate the wood. If you are using a semi-solid or semi-trans stain, go for wet on the wet application; apply the second coat right after the first one.
Tips:
- Always run the power washer with the grain of the fence and never across the grain because it will leave a permanent mark on the fence.
- Firstly, make sure your power washer has a rotating nozzle. It will tear off the excessive wood fast, compared to the one with a round nozzle.
- Before you start to power-wash, remove the tip of the nozzle, and run some water for about 30 seconds. Then put the tip back on and run it. This process is crucial because, during power washing, you might suddenly start to lose pressure, and the water pressure might go on and off.
- After spraying your stain, make sure to brush the area, so that the stain does not leave any lap marks. Brushing the stain also helps it to absorb the paint into the fence.
- Wear gloves and a face mask when sanding and working with toxic chemicals such as stain.
- Determine the length and width of your fence and decide how much stain you need.
- Try to buy paints and stains with fewer chemicals and toxic substances.
- Keep a space of roughly 10 inches between the fence and the spray nozzle when spraying.
- Wait for at least two or three hours to allow the fence to dry after washing or staining.
Warning:
While dealing with oil-based stains and wood cleaning materials, wear adequate clothing and protective equipment.
In general, wood cleaners are concentrated and can be very strong, powerful enough to burn skin. Make sure to wear proper safety, observe the guidelines of manufacturers while using wood cleaning products.
Finally
Staining makes your fence look exquisite and aesthetically satisfying. The key objective for the application of stain is to terminate all the things that would hamper the fence’s lifetime. You should inspect the age of your fence as it would guide your decision to stain.
Regardless of what method you choose, the process of applying stain to a surface is challenging and requires careful attention to detail, especially if you have a composite fence.
However, the detailed guide will help you accomplish your desired fence look at a short time giving you the perfect classic patio.
We wish you happy staining!


2 Comments
Comments are closed.